Creating Your First Apiary
An apiary is a location where you keep your beehives. Setting up your first apiary in CombCensus is the foundation of your digital beekeeping journey! 🏡
🎯 What You'll Learn
- ✓ How to navigate to the apiary creation form
- ✓ What information you need to provide
- ✓ Best practices for naming and organising your apiaries
- ✓ How to view and manage your apiary once created
Access the Dashboard
First, log into your CombCensus account and navigate to your dashboard.
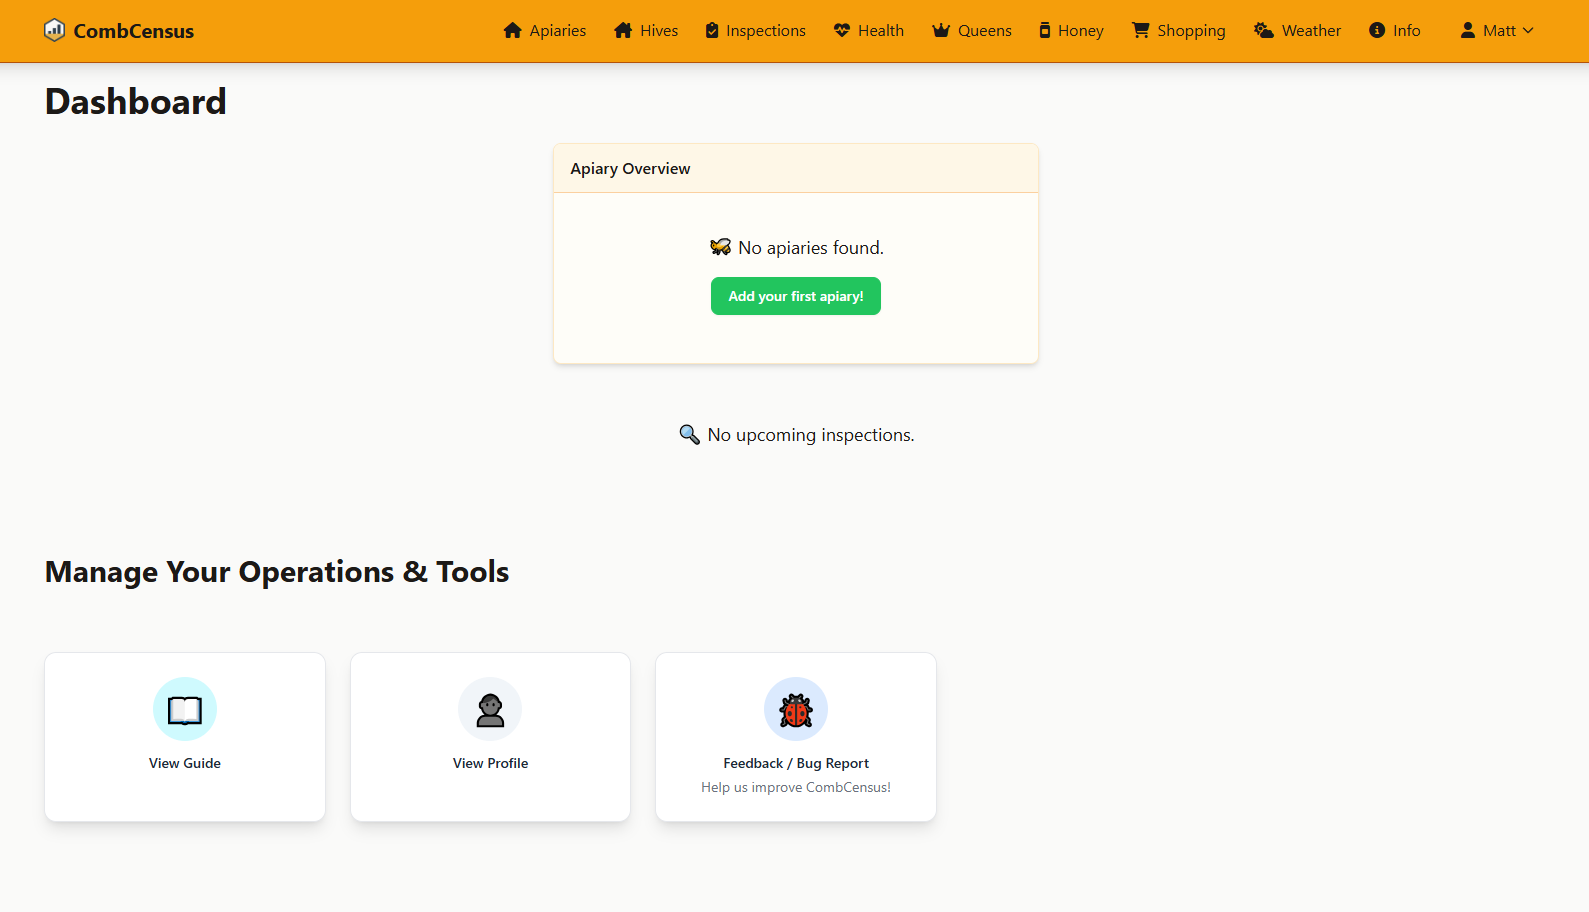
Screenshot: Your dashboard is your command centre - this is where you'll start most tasks
💡 Tip: If this is your very first time logging in, you'll see an empty dashboard with helpful getting started prompts.
Fill in Apiary Details
Complete the apiary creation form with your site information.
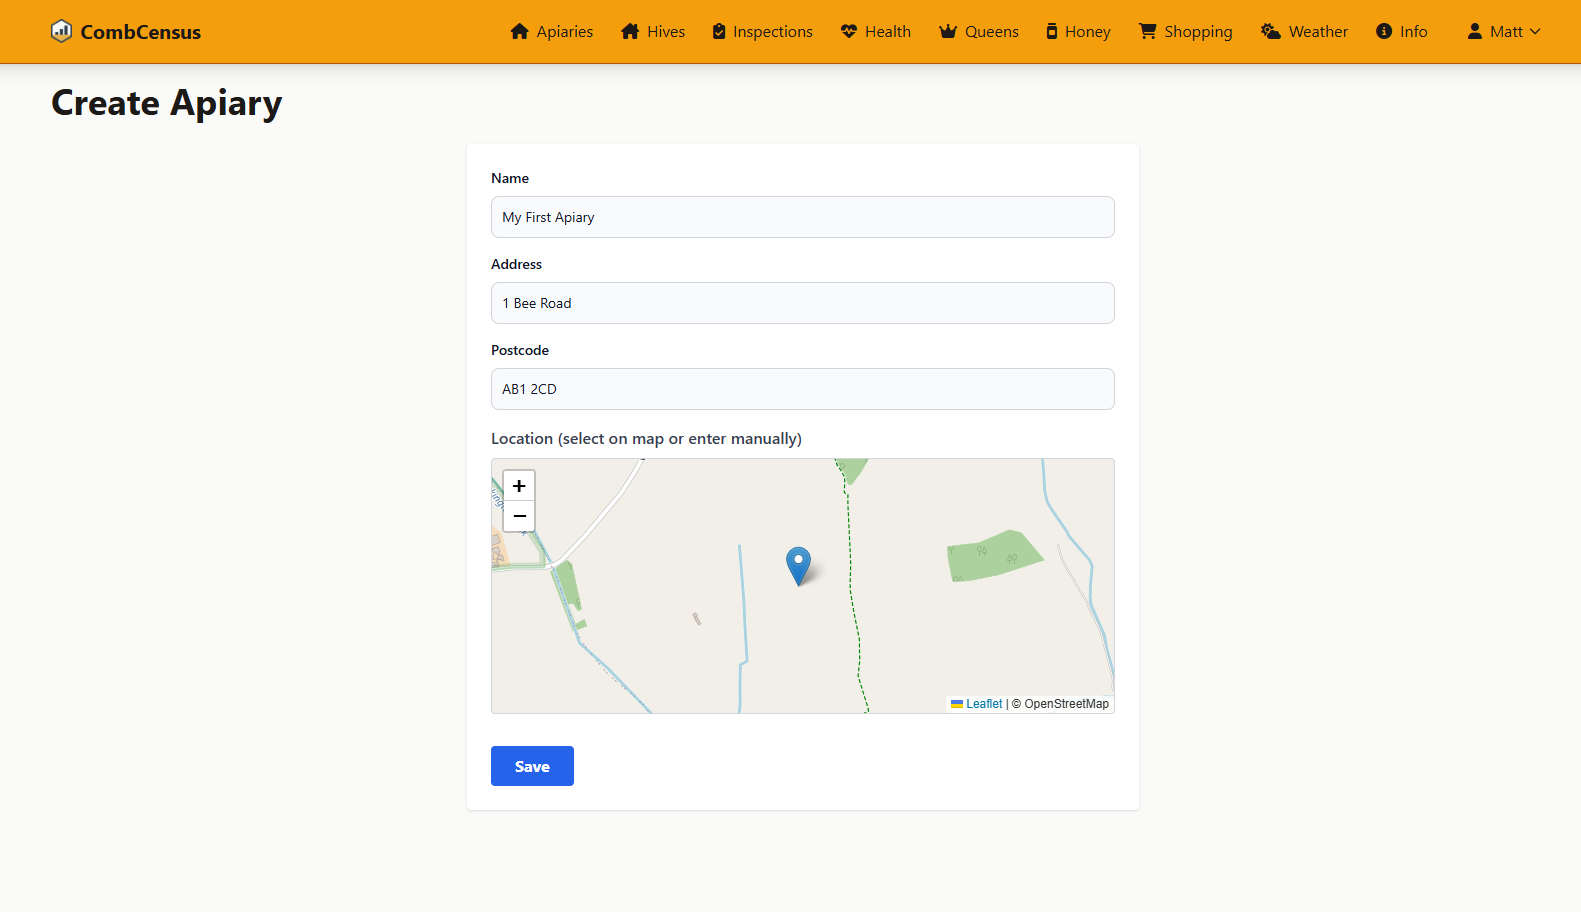
Screenshot: The apiary creation form - simple and straightforward
📋 Required Information
Essential Details:
- • Apiary Name (e.g., "Home Garden", "Oak Field Site")
- • Location/Address
- • Postcode (for weather data)
Save and View Your Apiary
Click "Save" to save your new location and view the apiary management page.
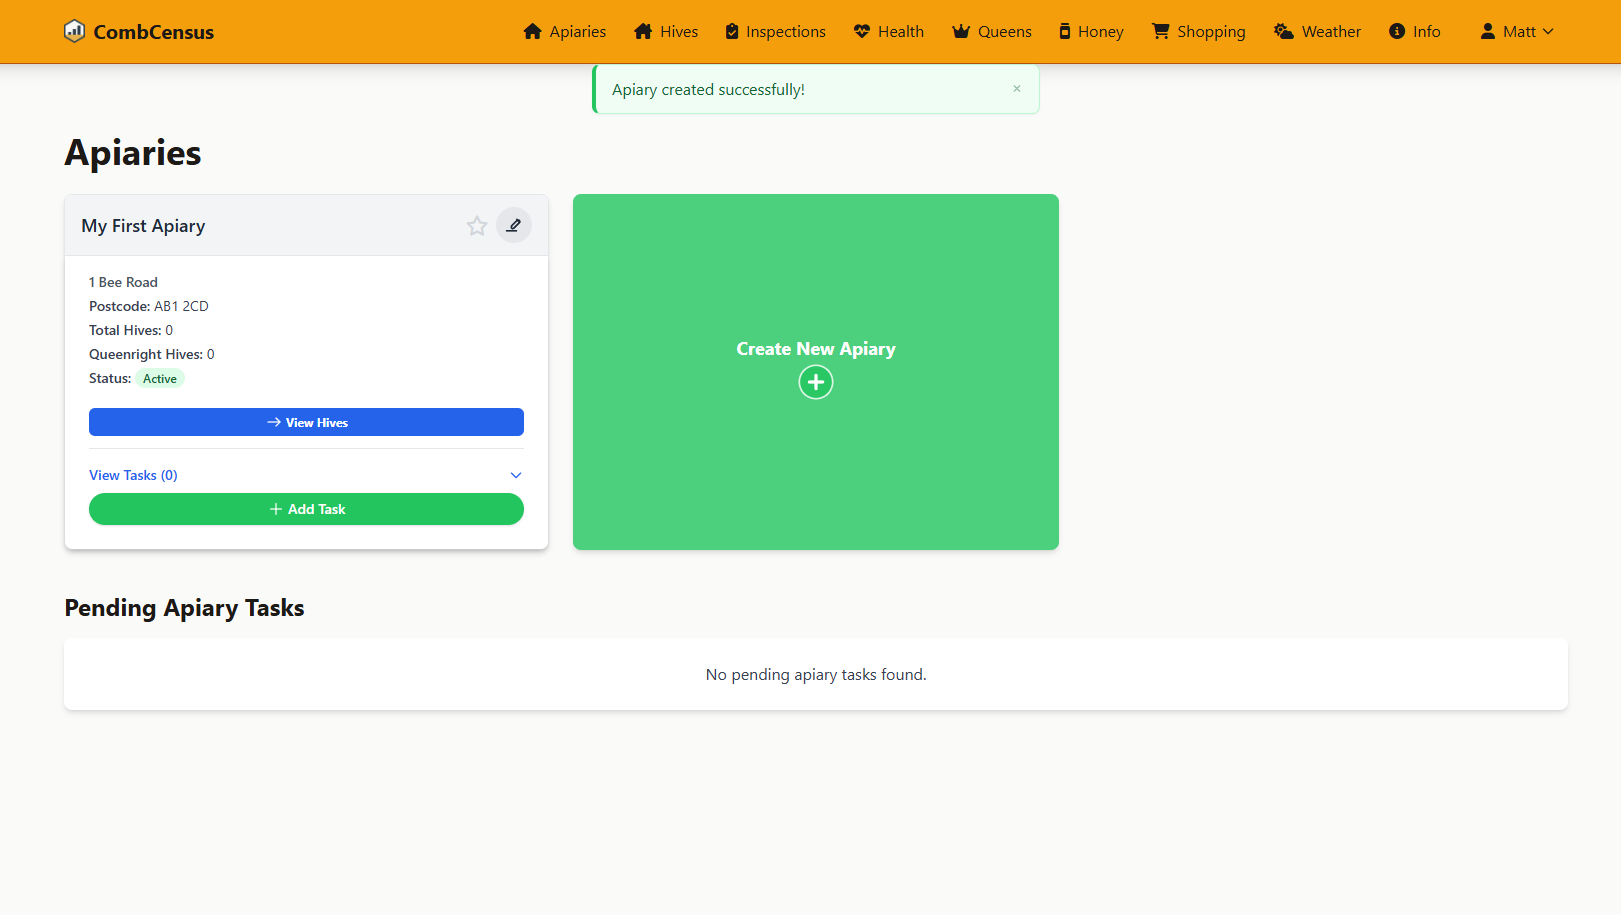
Screenshot: Your new apiary page - ready for hives to be added!
🎉 Congratulations! You've successfully created your first apiary. You'll now see it appear on your dashboard and in the apiaries list.
💡 Best Practices & Tips
- ✓ Use descriptive names like "Home Garden" or "Meadow Field"
- ✓ Include location references for easy identification
- ✓ Avoid generic names like "Site 1" or "Location A"
- ✓ Accurate postcodes enable weather features
🚀 What's Next?
Now that you have an apiary set up, you're ready to add your first hive! This is where you'll register each colony and start tracking their health and productivity.